Your Cart is Empty
*** Free domestic Shipping orders over $10!!! ***

Great prep is key to getting great durability and longevity from your coating work. Cerakote, DuraCoat, KG, and Spray Paints all require great surface prep. Other than cleaning & degreasing, abrasion or abrasive blasting is the most important part of good prep. Surface abrasion can be done by hand, but it is very time consuming, labor intensive, and the quality is generally not the same. If you plan to coat or paint multiple projects and/or with any sort of regularity, you will most certainly want to invest in an abrasive basting setup. Here are some options and considerations.
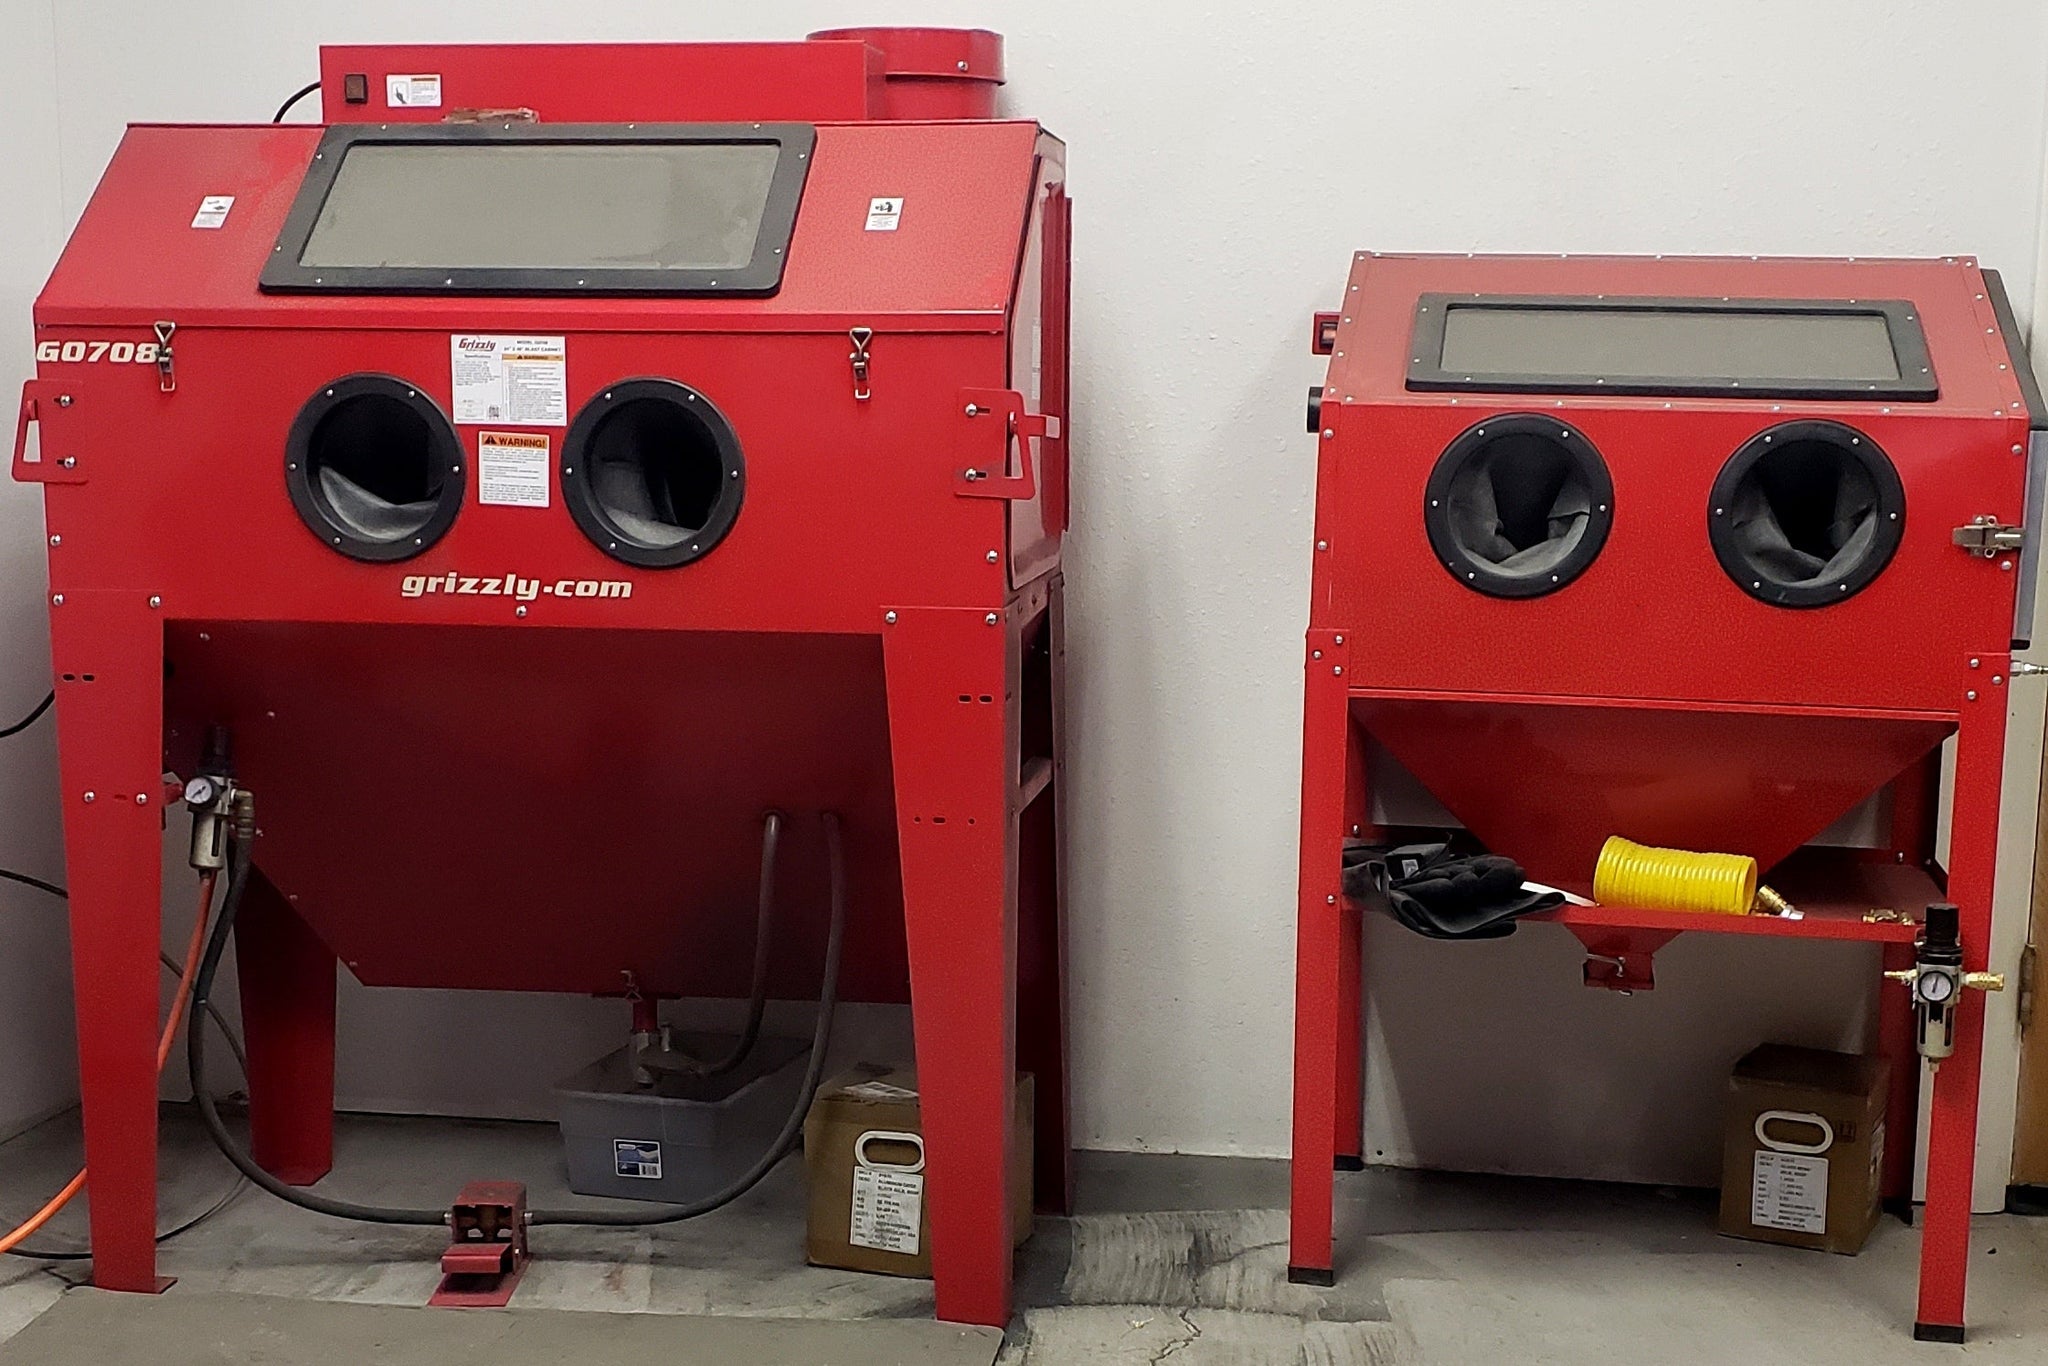
The Bench Top Abrasive Blast Cabinet is great if you have limited space and/or budget to work with. Its a solid little cabinet for the money and will get the job done for smaller projects. Size is its limiting factor. If you plan to be doing larger items such as stocks or barrels, you will need a larger setup. For small parts and projects though, this will get you going. We use to use an old one of these on a workbench for small parts and touch ups. When it was no longer needed, we modified it slightly and repurposed it as a benchtop spray booth.

The Central Pneumatic blast cabinet is a big step up from the Bench Top Blast Cabinet. It is free standing, and can fit much larger projects. For the price, this is a great option, and one of the most popular starting points. If you are coating a couple projects, have some larger parts like barrels or stocks, or plan to be coating with any sort of regularity, we strongly recommend considering this Blast cabinet as your base line. These cabinets, and others in this range, do not have vacuum systems. They are pretty popular however and there are a lot of internet threads discussing DIY modifications if interested or needed.

If you are coating a lot, or have the budget to allow, the Grizzly Industrial Blast Cabinet is for you. This is larger than the Central Pneumatic Blast Cabinet allowing more room for larger parts and making it easier to maneuver them when blasting. The cabinet opens from either side as well as the top giving you a lot of flexibility. It is of very sturdy construction, stands taller, and is foot pedal operated for better ergonomics when using it and not fatiguing like hand operated models. The lighting is external, and it comes with a built in vacuum system keeping things clean, easy to see, and maintaining interior pressure. This thing is a beast and when paired with a great compressor is all you will really ever need. Up from here, special compressors and other expensive equipment are needed and will not be very cost effective for Cerakote and DuraCoat shop purposes.

All of these blast cabinet considerations are great but only if we know what media to put in them! The general standard is to use between 80 grit and 120 grit aluminum oxide blast media. Most Cerakote and DuraCoat projects are made of high strength polymer, aluminum, and carbon steel. 80-120 grit is great for these materials. The goal with abrasive blasting for surface prep is to create texture for the coating product(s) to bite to. Its like building a foundation of a house. If you just stood your framed walls up in the dirt, the house will likely fall down on the first windy day! To create a great foundation, we use and recommend 80 grit aluminum oxide. Note: We get asked a lot about polymer parts. Polymers typically have a small texture molded into them. The question is whether that is good enough or not as a base, as many applicators would like to use the color of the polymer as the base color. This is not good enough. The texture created from abrasion is much different than the smooth molded texture of the polymer. We recommend abrading it all the same and applying your standard base coat even if the color is the same and seams to be redundant.