Your Cart is Empty
*** Free domestic Shipping orders over $10!!! ***
Cerakote is a ceramic-based finish that can be applied to metal, plastic, polymer, and wood firearm parts and accessories. It was first developed in the 1990s for use in the aerospace and military industries. Since then, it has become extremely popular among gun owners as a protective and customizable finish for firearms.
Cerakote creates an thin ceramic coating that molecularly bonds to the surface. This results in a finish that is more durable and corrosion resistant compared to traditional bluing or paint finishes. Cerakoting also allows for a wider range of color options and can be layered to create patterns.
The main benefits of Cerakote include:
The cerakoting process involves thoroughly cleaning and prepping the firearm parts, then applying several thin layers of Cerakote. The parts are then cured in an oven which causes the Cerakote to fully harden. This creates the tough ceramic coating that adheres directly to the material surface. With proper application and care, a Cerakote finish can last for many years and maintain the look and function of your firearm.
Cerakote has several advantages over traditional firearm finishes like bluing, parkerizing, and paints. Here's how it compares:
Bluing involves a chemical reaction that produces a thin protective oxide layer on the surface of steel. It provides minimal protection against corrosion and wear. Bluing also wears off over time with use and handling. Cerakote forms a much thicker, more durable ceramic layer that better resists corrosion, abrasion, and oils. Bluing can not be done on aluminum or polymer parts, and not able to achieve a variety of colors like Cerakote.
Parkerizing is a phosphate etching process for protecting the surfaces of carbon metal. It offers pretty good corrosion resistance but little protection against wear and abrasion. As with bluing however, Parkerizing is limited to the surfaces it can be done to and is not really able to achieve different colors.
Standard enamel paints are susceptible to chip, scratch, and wear off firearms much easier than firearm coatings. They also provide very limited corrosion protection.
Duracoat is another very popular firearm finish like Cerakote. Both bond to the surface and provide excellent corrosion and abrasion resistance. Both come in a large variety of colors and can be layered to produce patterns. Both products are heat resistant and are also able to be applied to the surfaces of most materials including aluminum, steel, polymers, and wood. Duracoat is more user friendly and easier for DIY application and has a slight edge on Cerakote for corrosive resistance. Cerakote is more resistant to scratching, and has a slight edge with chemicals, and environmental extremes.
In summary, Cerakote generally outperforms other common firearm finishes in durability, corrosion resistance, longevity, and appearance making it a very popular upgrade for protecting and customizing firearms.
Cerakote is valued by gun owners for its ability to protect firearms from the elements and normal wear and tear during use. The key properties that make Cerakote an effective protective finish are:
Cerakote has excellent abrasion resistance, meaning it strongly resists scratching, scuffing and wearing down from repeated contact and exposure. The ceramic compounds in Cerakote give it a surface hardness of 9h on the Rockwell scale, making it significantly more abrasion resistant than bluing, parkerizing or anodizing. This durability allows Cerakote to maintain its smooth protective finish over thousands of holstering/unholstering cycles.
Cerakote is also highly corrosion resistant due to its fully cured ceramic polymer coating. It will not react or degrade when exposed to solvents, oils, cleaning chemicals, or even salt spray. Cerakote exceeds over 800 hours of salt spray testing per ASTM B117 standards. This corrosion resistance prevents rusting, pitting, tarnishing or other damage to the underlying metal firearm parts.
In addition to abrasion resistance, Cerakote has excellent hardness and durability. The aforementioned 9h hardness on the Rockwell scale is 3-5 times harder than its traditional firearm finish counterparts. Combined with 5b adhesion strengths, this hardness makes Cerakote extremely resistant to scratches, nicks, scuffs and wear, even under harsh field conditions.
The durability of Cerakote comes from its ceramic polymer properties. As a fully cured ceramic coating bonded to the metal substrate, it maintains its integrity and finish despite exposure to chemicals, solvents, abrasion or impacts. Properly applied Cerakote can extend the life of a firearm's surface for many years of hard use.
Overall, Cerakote's outstanding abrasion resistance, corrosion resistance, hardness and durability make it a highly effective protective finish for firearm parts of all kinds. These properties allow Cerakote to protect the metal underneath from damage that could degrade reliability and performance. That's why so many gun owners turn to Cerakote to protect their valuable firearms.


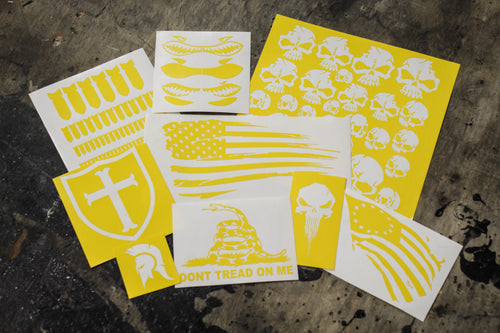
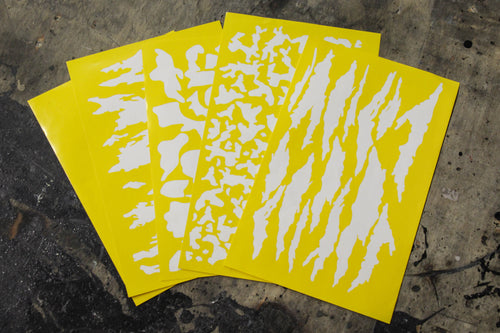
One of the best things about Cerakote is the wide variety of colors and patterns available. Cerakote coatings come in over 200 colors, ranging from basic black and silver to eye-catching colors like bright orange, gold, purple, and more. This makes it easy to customize your firearm parts to match your style. In addition to solid colors, Cerakote offers a number of popular camouflage colors to achieve patterns like Multicam, Tiger Stripe, Riptile, and more.
For a truly unique look, Cerakote can also be paired with hydrographics to create custom patterns. Hydrodipping involves applying printed graphics and patterns using water transfer printing. When paired with a Cerakote basecoat, the result is a durable and stylish finish. Popular hydrographic patterns for firearms include carbon fiber, wood grain, American flag, simulated alligator or snake skin, and digital camo. The options are nearly endless, allowing you to create a one-of-a-kind look for your firearm.
So whether you want a basic matte black finish or an eye-catching purple and blue tiger-stripe pattern, Cerakote has the colors and options to customize your firearms exactly how you want them. The array of possibilities makes it easy to get the ideal aesthetic you're going for with a finish that will hold up over time.

When deciding which parts of a firearm to cerakote, most people choose to customize the main components that are visible when the firearm is assembled. Here are some of the most commonly cerakoted parts:
The upper and lower receivers make up the core framework of rifles like the AR platform. Cerakoting the receivers allows you to completely transform the look of a rifle with a new color pattern. The receiver sets tend to be the most eye-catching cerakoted parts of a rifle build.
AR platforms and other rifles have hand guards covering the barrel. Cerakoting the hand guard is popular for matching or contrasting the color with the receiver set. It offers a lot of visible surface area to work with and is in most cases a pretty easy part to spray.
The barrel is one of the most critical parts to protect from corrosion and wear. Applying a Cerakote finish is an excellent way to extend the life of the barrel while also customizing its look. Just be aware that frequent cleaning and use will wear down the finish over time.
For small arms like Glocks, the slide is a prime candidate for applying a custom Cerakote color. As one of the main visible parts when firing or handling the pistol, the colored slide becomes a defining visual characteristic.
Small parts like the trigger, mag release, pins, bolt catch and takedown levers are fun accent pieces to cerakote in a contrasting color. Just be aware that cleaning, holster wear, and manipulation will rub the finish off these smaller parts more quickly than larger components.
Proper preparation is essential for Cerakote to adhere correctly and achieve the desired finish. There are several key steps in prepping parts for Cerakoting:
Degreasing - All oils, greases, and other contaminants must be removed from the surface. A degreaser like acetone is commonly used along with lint-free cloths. Wear gloves and work in a well-ventilated area. Thoroughly wipe down all surfaces that will be Cerakoted.
Sanding - Use an abrasive blasting method or sand with fine grit sandpaper to scuff and rough up the surface. This promotes better adhesion by giving the Cerakote more texture to grip onto. Be sure to sand off any burrs, rust, or defects.
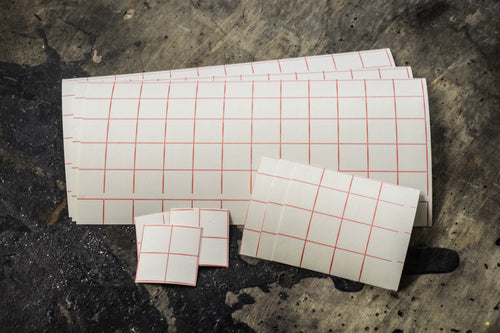
Masking - Mask off any areas you don't want coated in Cerakote, like threads, action parts, or controls. Use painter's tape and paper to completely cover sections. This prevents overspray and keeps moving parts clean. Heat resistant masking plugs are great for plugging barrels, chambers, or any small threaded openings where you don't want the finish applied.
Final Wipe Down - Wipe all parts again with degreaser once sanding is complete. This removes any oils, metal debris or sanding dust left behind. Allow to fully dry. Your parts are now prepped and ready for Cerakote application.
Proper preparation is key to getting an attractive, durable and long-lasting finish from Cerakoting your firearm parts. Don't skip steps in the degreasing, sanding and masking process - this will help ensure the Cerakote bonds correctly and provides the protective finish you want.

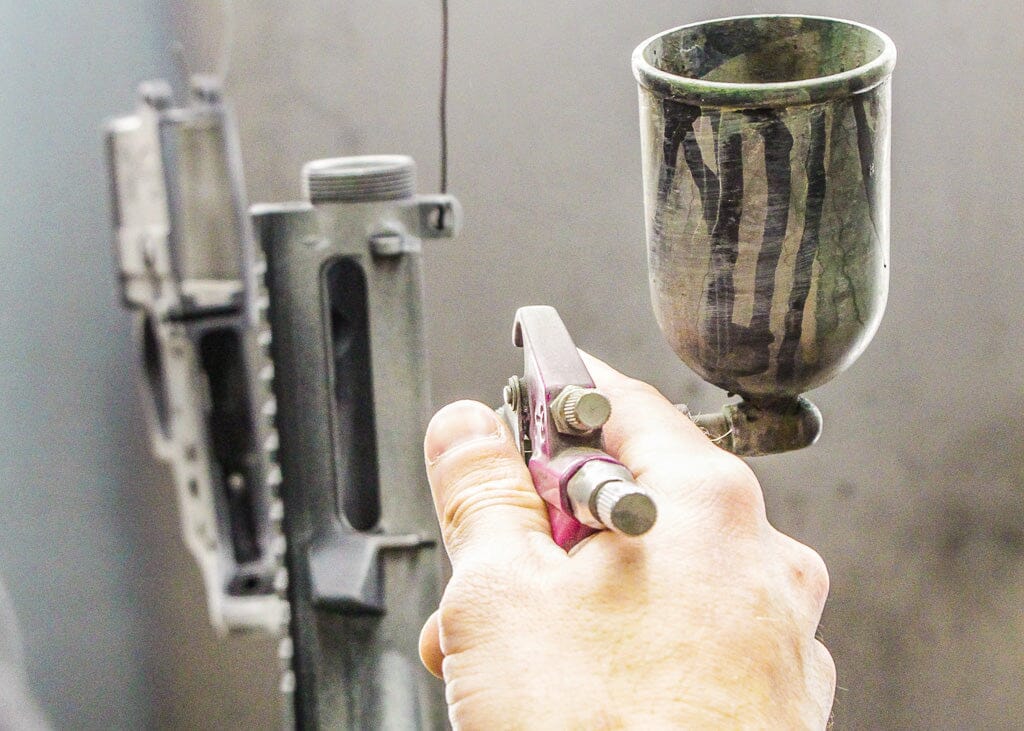
When it comes to actually applying Cerakote to your firearm parts, there are some key steps to follow. You'll need the right spraying equipment, apply the correct thickness, and follow proper cure times.
Spraying Equipment
Applying Cerakote requires an airbrush spray gun or Mini HVLP spray gun. You'll also need an air compressor and hose. Make sure your compressor can provide 10-50 psi of consistent air pressure. Desired psi can vary, but we recommend 35 psi as good starting point. Maintain a consistent psi for optimal spray results. The spray guns should have a .8mm or 1.0mm tip.
Number of Coats
Most Cerakote applications require 2-3 coats. Apply thin, even coats to build up the finish. Too much Cerakote applied at once can lead to runs and imperfections. Let each coat fully cure before applying the next. You typically want about a 1 mil thickness in the high wear areas. Keep tolerances in mind however and "play to your audience" in tighter locations.
Cure Time
Cerakote requires heat to fully cure and harden after application. Optimal cure time is 2 hour at 250°F. You can use a curing oven to apply curing heat. Allow the coating to air dry for 24 hours before any contact or use.
Cerakote can be flash cured for 5-10 minutes (depending on how wet the coat was applied) between colors to cure it enough for light handling and continued work. The process of flash curing is great for projects that need stencils to do patterns and artwork such as camouflage. After flash cure, the Cerakote is hardened enough to apply stencils and the next color or layer of coating. This process is repeated until the pattern is complete. The stencils are removed after the last flash cure while they are still warm and pliable. The project can then be baked for the recommended full cure of 2 hours.
Properly prepping your parts, having the right spray equipment, applying thin even coats, and giving adequate cure time will result in a smooth, durable Cerakote finish on your firearm.

When it comes to applying a Cerakote finish to your firearm, you have two main options - do it yourself (DIY) or use a professional Cerakote applicator. Both routes have their pros and cons.
The DIY route involves purchasing a Cerakote kit and completing the entire preparation and application process on your own. This option allows you full creative control over the final finish. It also costs significantly less than hiring a professional. However, DIY Cerakoting requires an investment in supplies like an airbrush spray gun, safety gear like a respirator, an oven or method of heat curing, and a full understanding of proper application techniques. Mistakes made during surface preparation or application can ruin a Cerakote job. DIY requires patience, practice, and often many attempts before achieving a smooth, professional-looking finish.
Overall, for firearms that require a basic solid color Cerakote finish, DIY kits provide an affordable option if you have the time and patience to learn. But for intricate, multi-color designs or mission-critical defensive firearms, utilizing a professional Cerakote applicator may be worth the extra cost to ensure perfect results.
The cost to Cerakote a firearm can vary quite a bit depending on the size of the project, who is doing the work, and how intricate the design is. Here are some typical Cerakote application costs:
Having an entire firearm coated by a professional Cerakote applicator typically ranges from $150 to $300. Pistols and other small firearms tend to be on the lower end of this range, while larger rifles are more expensive. More intricate patterns, camo finishes, multiple colors, and other custom work can increase the cost by an additional $100-$200 in most cases.
DIY Cerakote kits to coat an entire firearm start around $150. While DIY saves on labor costs, results are not guaranteed and it takes practice to apply Cerakote properly.
To have smaller parts like a slide, receiver, or handguard coated by a professional usually starts around $50 and up depending on the specific work involved.
Other factors that increase the cost of a Cerakote application include:
So while basic full firearm finishes start around $150-200, more complex projects with custom finishes, graphics, patterns, etc. can cost $300-500+. Carefully consider the design and who will do the application when budgeting for a Cerakote project.
Cerakote has excellent durability and corrosion resistance properties, but proper maintenance will keep your Cerakote finish looking its best. Here are some tips for keeping Cerakoted firearms clean and protected:
Use a soft cloth or brush to gently wipe away any dirt, dust or other debris after shooting or handling your firearm. Avoid using anything abrasive that could scratch or damage the finish.
For a more thorough cleaning, use a solvent like Mineral Spirits on a rag to cut through caked-on residue. Follow with a wipe down using a silicone cloth or other soft, lint-free cloth.
To remove fingerprints or surface stains, use a household cleaner like Windex applied to a soft cloth. Avoid harsh chemical cleaners.
Reapply a layer of gun oil frequently, especially after cleaning, to lubricate and protect the Cerakote finish. The oil helps repel moisture and prevents corrosion.
Over time, high-friction areas like the barrel, slides and contact points can start to show holster wear. When wear spots become noticeable, consider getting a Cerakote re-coat to restore the pristine finish.
For whole gun re-coats, completely remove the old finish via blast media and follow the standard Cerakote application process. For touch-ups, scuff the worn areas, clean and degrease, then reapply just to those spots.
With proper care and maintenance, your Cerakoted firearm can maintain its durable, attractive finish for many years. Keep it clean, lubricated and touch up any worn areas as needed.