Your Cart is Empty
*** Free domestic Shipping orders over $10!!! ***
Airbrushing is a painting technique that uses compressed air to spray paints or coatings onto a surface. It allows for precise control in applying thin layers of paint, as well as soft, blended, and gradual effects.
Airbrushing first emerged in the late 19th century and was used for retouching photographs. It gained popularity among 20th century artists for its versatility in both fine art and commercial applications. Today it is used across industries like automotive, apparel, hobby crafts, and more.
There are two main types of airbrushes - single action and double action. Single action airbrushes control only the amount of paint flow, while double action ones allow you to adjust both paint flow and air pressure. This gives more control over the spray but takes a little more skill to operate.


Some key benefits of airbrushing include:
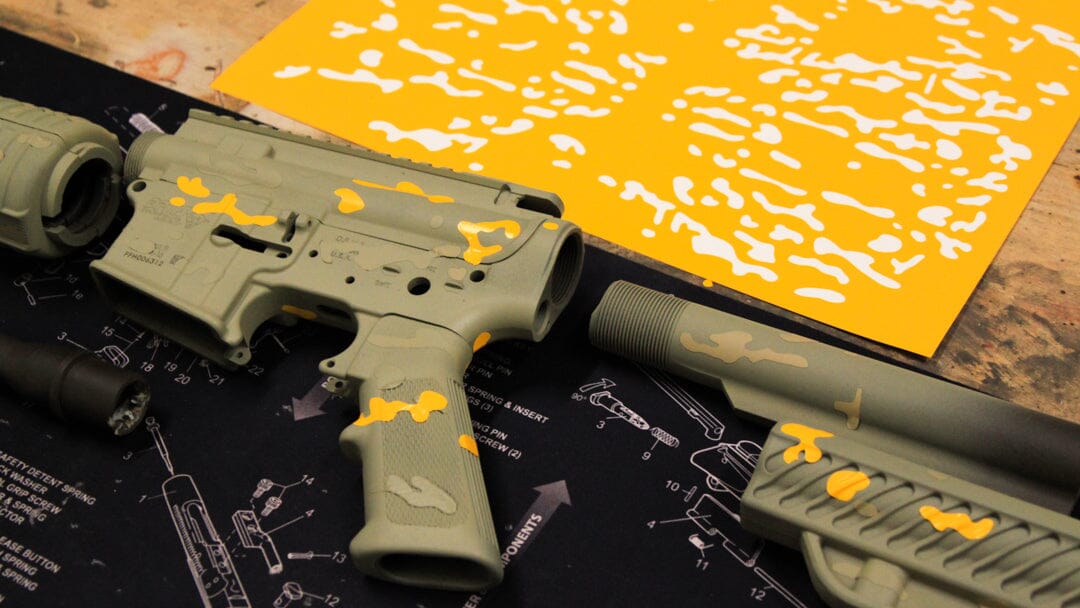
With some practice and experimentation, airbrushing opens new creative possibilities for painting and decorating all kinds of surfaces. It is an essential technique for scale modelers, crafters, fine artists, firearm refinishers, and more.
To get started with airbrushing art using stencils, you'll need to gather some basic supplies. Here's an overview of the key items you'll need:
The airbrush is the main tool that allows you to spray paint in a fine mist. You'll need an airbrush suited for art projects, not heavy painting like automotive or industrial work. A single-action airbrush is a good choice for beginners, but for more control and art applications a dual-action airbrush is a good choice as it allows you to control the airflow and amount of paint.
You'll also need an air compressor to power the airbrush. It should provide around 1.5 CFM at 30-50 psi. Make sure it has a water trap or filter to remove moisture from the air. Nearly every manufacturer offers combination kits that include the compressor and airbrush to get you started. These kits often include an airbrush holder as well. If not, it is highly recommended to get an airbrush stand with your initial setup.
For artistic airbrushing the Iwata Eclipse HP-CS is popular option and often considered the gold standard of airbrushes.

Airbrush paint comes in many varieties to suit different needs. They are formulated to spray smoothly through the airbrush without clogging. You'll want to get a variety of colors to start. Here are some of the main types of paint used for airbrushing:
Mediums are additives that adjust the thickness, transparency, drying time, and finish of paints. They include airbrush thinner, retarder, flow improver, and opaque mixer.
With a variety of compatible paints, you can mix and match to create custom colors and effects. Allow time for drying between layers when mixing paint types.
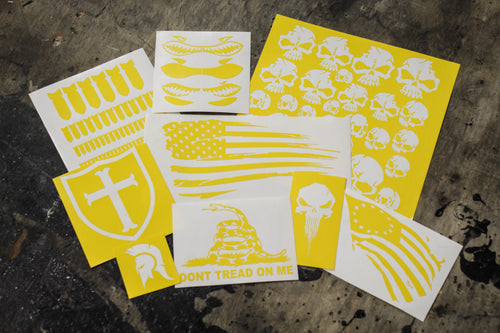
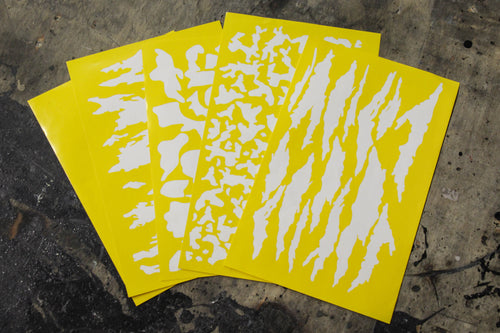
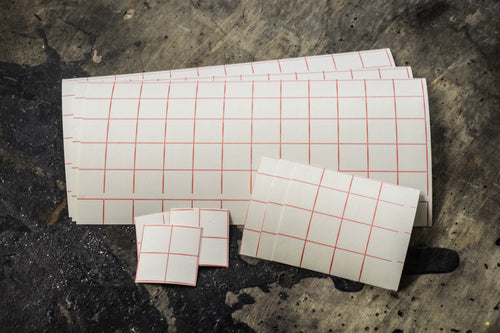
Stencils open up a lot of options for airbrush art. Look for sets made from thin plastic, vinyl, or cardstock. You can find abstract shapes, fonts, templates and more. You can create your own stencils by cutting shapes from cardboard or masking tape. Stencils can be re-usable or one time use. Reusable are most often made from mylar plastic and are great for quickly masking surface areas but allow under-spray and aren't feasible for multiple layers. One time use stencils have low tach adhesive backing that can be stuck to the surface. Adhesive stencils have little to no under-spray and can be layered multiple times or coats, but are more tedious and time consuming to work with.
You can airbrush paint on many surfaces like canvas, wood, metal, plastic, glass, fabric, posters, and more. For beginning, good options include posterboard, wood panels, and canvas panels. We will cover more on surfaces in moment.
Protect yourself with a respirator mask and gloves while airbrushing. You'll also need cleaning fluids and tools to maintain the airbrush like cotton swabs, toothpicks, nozzle wrenches and cleaning solution.
With these basics supplies, you'll be set to start learning airbrush art techniques using stencils. The rest of the guide will go into detail on each area.
When getting started with airbrushing, it's important to set up your workspace properly to allow for good air flow and protect surfaces from overspray. Here are some tips for setting up your airbrushing workspace:
Follow these simple steps when organizing your airbrushing area and you'll be ready to start spraying in a safe, controlled workspace. A properly set up area helps avoid messes and allows you to focus on your airbrushing project.

An airbrush is a versatile tool that allows you to apply paint in a fine mist. Understanding the different parts and functions will help you get the most out of your airbrush.
Body - Houses the mechanism and allows you to grip the airbrush. Often made of metal or high-impact plastic.
Trigger - Controls the airflow by depressing it. More pressure equals more paint flow.
Nozzle - A small opening at the front of the airbrush where the paint exits in a fine spray.
Needle - A thin metal shaft that slides back when the trigger is pressed, opening the nozzle for paint to flow through.
Tip - The nozzle assembly at the front. Can be removed for cleaning and changing sizes.
Paint Reservoir - Where the paint is held, allowing it to siphon into the airbrush mechanism.
The key to good airbrush control is learning how to adjust the airflow based on the effect you want. More airflow results in a wider, misty spray while less airflow allows for fine detailed work. Start with lower pressure and increase as needed.
Use quick bursts of airflow for details and steady even motion for broader spray. The further away you hold the airbrush from the surface, the softer and more diffused the line will be.
Pressure is controlled by your air source and the trigger. With a manual airbrush, pressing lightly on the trigger results in less paint flow. With experience you'll develop a feel for the amount of pressure needed for different techniques.
Use lower pressure (10-15 psi) for detail work and higher pressures (30-60 psi) for broad spraying and basecoats. Adjust the pressure gradually to prevent too much paint coming out.
Clean your airbrush after each use by spraying cleaner fluid through it. This prevents dried paint from clogging it.
Use a specialized airbrush cleaning pot to flush the inner parts. Avoid soaking the whole airbrush in solvent.
Lubricate moving parts regularly with airbrush lube or sewing machine oil.
Never store your airbrush with paint in it. Always do a final deep clean before storage.
Inspect often for damaged parts like bent needles, dried o-rings, and loose nozzles. Replace when needed.
Proper cleaning and maintenance is crucial for an airbrush to function consistently. Follow the manufacturer's directions closely. With care, a quality airbrush can last for years.

When you first start airbrushing with stencils, it's important to take some time to get comfortable with your airbrush and learn some basic techniques before jumping into projects. Here are some tips for getting started:
Proper thinning is key for airbrush spray consistency. Acrylics thin with water, enamels and auto paint use mineral spirits. Inks and dyes are usually pre-thinned. Add thinner drops at a time until the paint flows easily.
The key is to go slowly and get a good feel for how your airbrush handles. Don't worry about perfection at first. Remember it takes practice to control the air flow and paint evenly. Taking your time during these first sessions will pay off with better skills down the line.
Never let paint dry in your airbrush! Clean thoroughly after each session. Use the appropriate solvent - water for acrylics and water-based paint, mineral spirits for enamels and oils. Run solvent through until it sprays clear.
Following brand recommendations and taking good care of your paints will keep them usable for many enjoyable airbrushing projects. Proper cleanup and storage will maintain the life of your paints.
When getting started with airbrushing, it's important to understand how to properly prepare different surfaces for painting. The surface preparation is key to achieving a smooth, professional looking airbrushed finish. Here are some tips on prepping common surfaces:
Following proper surface preparation and priming will help ensure your airbrushing results in a durable, high-quality finish on any surface. It provides the right foundation for the paint to adhere to. Use the appropriate steps outlined here as you get creative with your airbrush!
Airbrushing allows you to create a variety of effects that would be difficult to achieve with traditional brush painting. Here are some of the most common airbrushing techniques for beginners to try:
Stencils allow airbrush artists to create intricate designs and crisp edges. When using stencils for airbrushing, there are some key steps to follow:
For reusable stencils look for stencils made of thin plastic, acetate, or cardstock. Thicker materials can prevent overspray and bleeding under the stencil edges. For multi layered designs and perfect edges use adhesive backed low tach vinyl stencils.
Consider the level of detail needed. More intricate designs require stencils with finer edges that are difficult to get filled in with paint.
For beginners, choose stencils with simpler designs and lower detail. Complex stencils take more skill to use cleanly. Use transfer tape to move adhesive vinyl stencils from their backing to the surface.
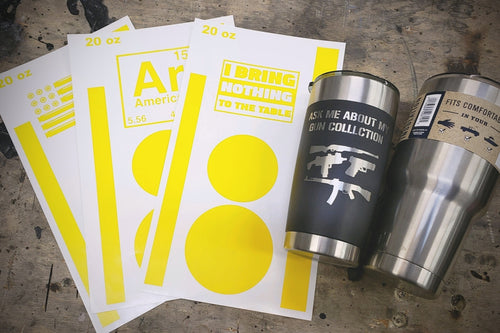
Purchase sets of stencils for commonly used shapes like stars, circles, hearts, and freehand edges. Individual custom stencils can also be made.
Clean the surface so the stencil adheres evenly with no dust or debris underneath.
Position the stencil where desired and press down firmly along all edges. For reusable stencils, apply a repositionable adhesive or masking tape on the back to secure it.
When using multiple stencils, apply them from largest to smallest area to make positioning easier.
Avoid shifting or lifting the stencil once it's adhered or paint may seep underneath the edges.
Keep the airbrush several inches above the stencil when spraying to avoid paint buildup along the edges.
Use lighter coats and build up the color gradually. Thick coats are more likely to bleed and build up along the edge of the stencils.
Move the airbrush in careful straight motions across each area to prevent paint drifting under the stencil.
Clean overspray off reusable stencils immediately to prevent drips hardening and ruining the edges.
Let paint dry before peeling stencils off to prevent chipping, lifting, or smearing the design.
Remove slowly at a sharp angle to keep paint edges crisp and clean.
Clean and store reusable stencils right away so they are ready for their next use. Acetate and plastic stencils can be used many times.
With the right stencils, techniques, and care, airbrushing can create stunning artwork full of fine details, gradients, and sharp edges. Stencils make achieving these effects easy even for beginners.

When getting started with airbrushing, it's important to take proper safety precautions to avoid health hazards. Here are some key tips to follow:
Taking basic precautions with safety gear, ventilation, cleanup and storage will help make airbrushing an enjoyable, hazard-free hobby. Stay informed on the materials you're working with and don't take short cuts when it comes to your health and workspace.